Let's Build a Lab
One of the questions we receive from our students is how to build a practice lab for building automation. In this quick guide, we will discuss exactly what you need for your own lab.
A couple of quick points, we will do our best to keep part numbers up to date but they may change, just send us an email at support@smartbuildingsacademy.com and we will adjust. We focused in on Niagara for this lab for a few reasons:
- Niagara has a large market share and covers a large audience (I'd also argue it's one of the most difficult BAS interfaces to learn, if you can use it, you will be fine with most other BAS).
Table of Contents
-
The Supervisory Device
-
Field Controller
-
Power Source
-
Inputs
-
Outputs
-
Panel and Miscellaneous
-
Complete List of Parts
The Supervisory Device
I recommend the Edge-10 or CIPer-10 controller. This will give you a platform that you can work with for all server/supervisor needs. The only downside is that you will need a licensed copy of Niagara Workbench to work with the Controllers. You will need to purchase the same brand of Workbench as your Edge Controller.
This device will enable you to practice IP Controls, Graphics, Programming, User Rights, Trending and more.
Field Contoller
Since you are using the Edge-10 controller you will have I/O capabilities. If you want to add another controller I would look at the Distech VAV controllers or KMC Simple VAV.
Power Source
I recommend two separate power sources. One for your controllers and one for your I/O this will let you work with both internal and externally sourced power.
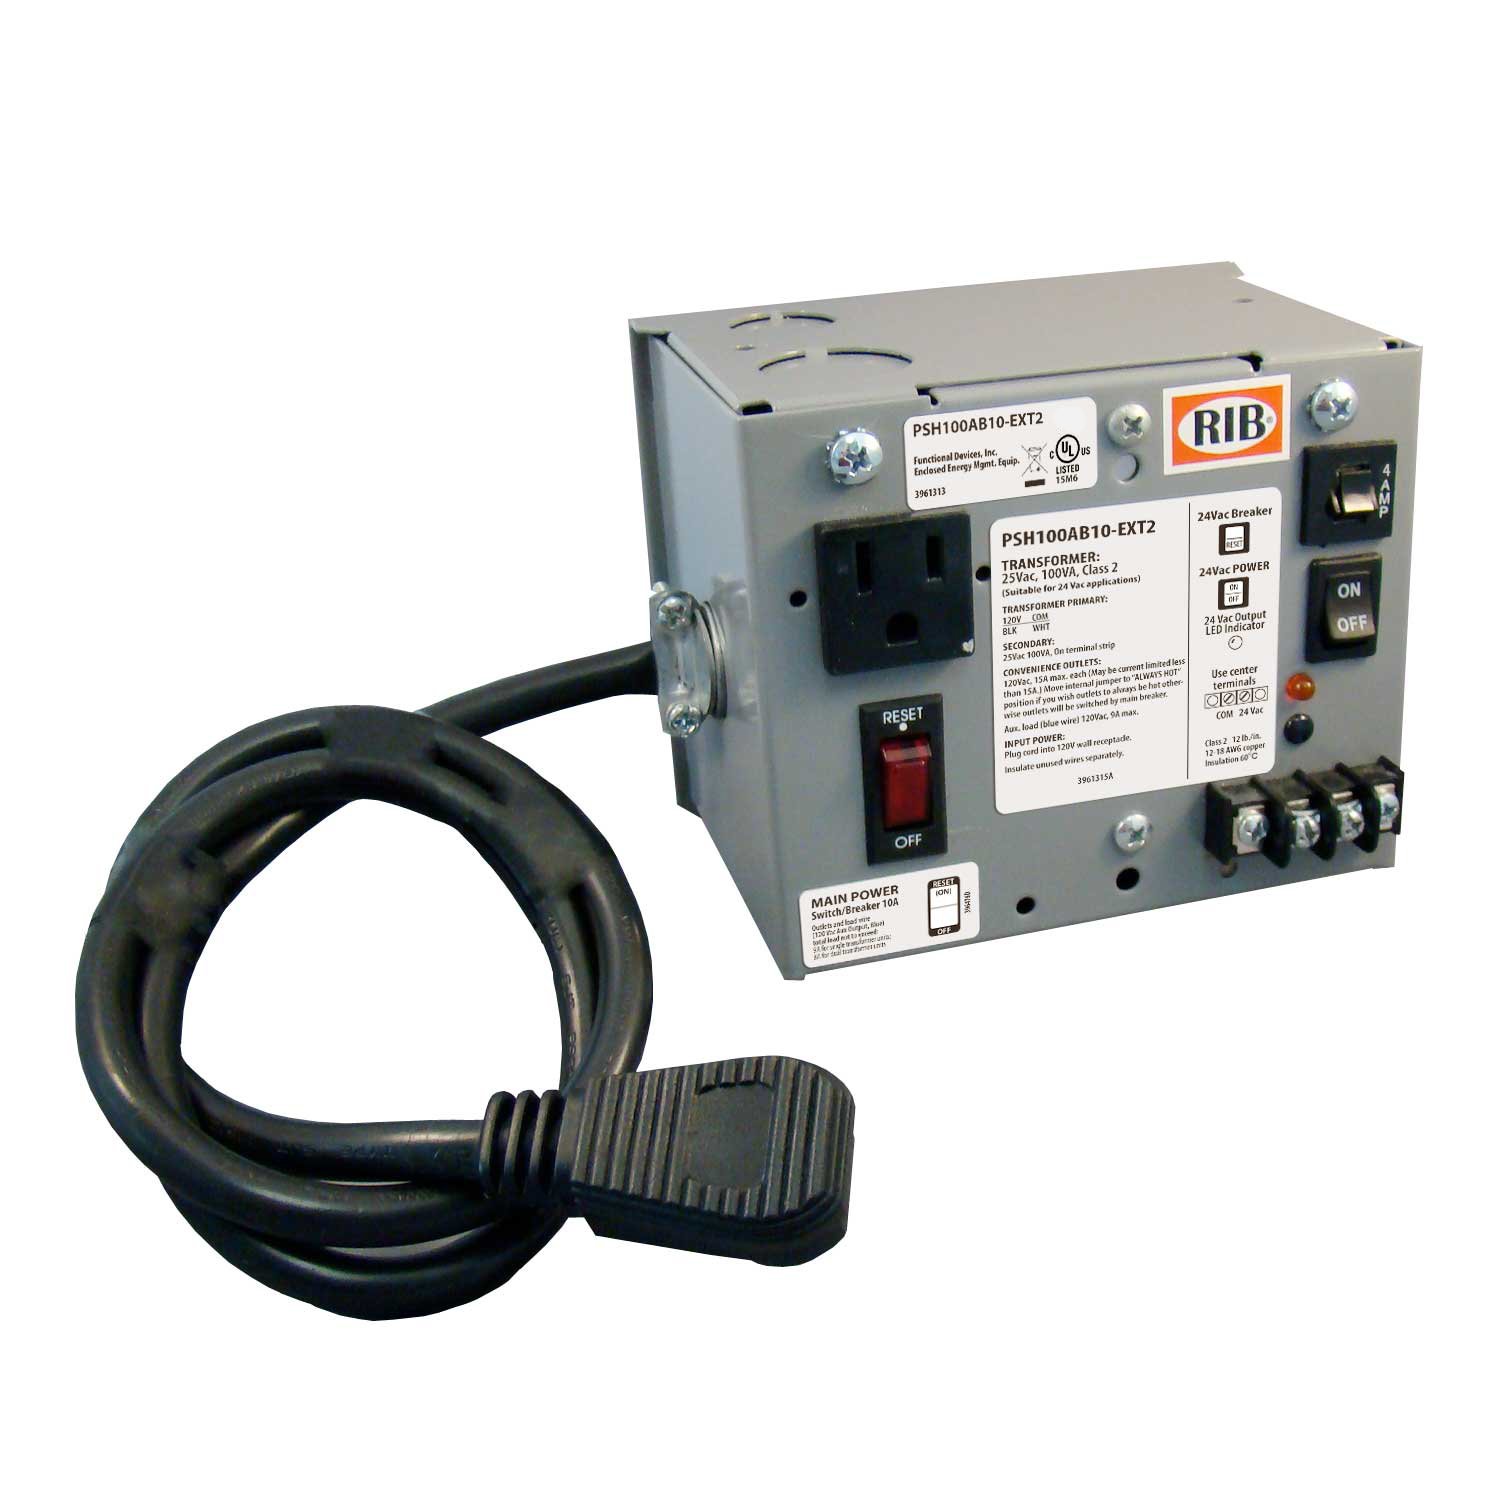
The transformer I recommend is the PSH100AB10-EXT2.
Inputs
I recommend you get the following inputs
- Resistive Temperature: Both 1K Ni RTD and 10K Type 2 Thermistor
- Pushbutton Reset Air Pressure Switch
- CO2 Dual Output 0-10VDC or 4-20mA
Resistive Temperature
I prefer to get my sensors from BAPI. I've had good success with them even if they are a bit more expensive. Make sure to get a sensor and not a transmitter. I recommend one wall mount sensor and one duct mount sensor. Bonus points if you buy an averaging sensor as well but it is not necessary.
Pushbutton Reset Air pressure Switch
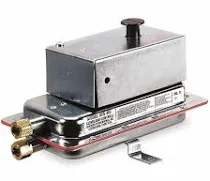
There's only one Pressure reset I trust and that is the Cleveland Controls AFS-460. Get this model as it comes with the push-button reset.
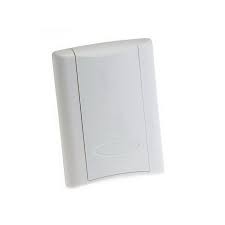
CO2 Dual Output 0-10VDC or 4-20mA
For pressure sensors I prefer Setra but for CO2 Sensors I prefer Veris. The reason we are going with a CO2 sensor is that it is a lot easier to produce CO2 when we breath then to try to produce air pressure with a mag gauge and a squeeze ball setup.
I like the CWE model as it provides both a 0-10VDC and a 4-20mA output which is good for labs.
Outputs
I recommend you get the following Outputs
- Single Pole Double Throw 24VAC Coil with indicator rh1b-ulac24v
- Relay in a Box 120/24VAC/DC coil SPDT
- LMB24-SR 0-10VDC or 4-20mA Non-Spring Return Actuator with Feedback
- LMX24-3-T-F Actuator (Floating) Actuator
Single Pole Double Throw 24VAC Coil with indicator
IDEC's are the way to go for rail-mounted ice cube relays. These are great for putting inside equipment where you can't use a mud ring a RIBU1C (my goto relay).
I like the rh1b-ulac24v model as it gives us an indicator, two throws, and a 24VAC pole.
Relay in a Box 120VAC or 10-30VAC/DC coil SPDT
The RIB or Relay in a Box, is a tried and true staple for VFD's and other solutions where we want to be able to see if the relay is active without opening up a panel. I like the RIBU1C for its simplicity.
0-10VDC or 4-20mA Non-Spring Return Actuator with Feedback
My personal favorite actuator for labbing is the Belimo LMB24-SR. This one has it all. O-10VDC or 4-20mA control, and feedback! This is a beautiful actuator for you to get used to controlling.
Floating Non-Spring Return Actuator with Feedback
Another one of my personal favorite actuator for labbing is the Belimo LMX24-3-T-F. This actuator will enable you to practice floating control which is common in fan coils and VAV boxes.
Panel and Miscellaneous
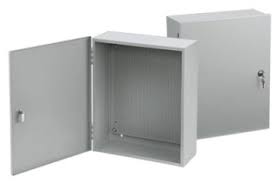
In order to really practice I recommend you use a NEMA 1 panel so you can practice mounting transformers, controllers, and din-rail/panduit.
- A3624AT1PP 36x24 NEMA 1 Panel
- Din Rail Hardware Kit
- Panduit
- 18/2 AWG and 22/3 AWG wire
36x24 NEMA 1 Panel with Mesh backplate
Use for practicing controller mounting and wiring.
Din Rail Hardware Kit
Used for installing and mounting controllers and transformers as well as Panduit.
Panduit
Used to organize wires inside the panel.
22/3 and 18/2 AWG Wire
18/2 is used for low voltage wiring.
22/3 is used for communication wiring.
Conclusion
Some of you may be wondering why I did not include any potentiometers or switches. If I do fake values I like to do them in my software. I like to utilize physical devices to stimulate programmatic responses. With this lab setup, you can simulate almost any process loop you'd like to control.
Here is a complete list of the parts:
- Controllers and Software
- (1) Niagara Workbench License
- (2) CIPer-10 IP Field Controllers
- Inputs, Outputs, and Power
- (1) 100VA Power Supply with Extension Cord
- (1) AFS-460 Air Flow Switch
- (1) CWE CO2 Wall Sensor
- (1) 1K NI Wall Mount Temp Sensor
- (1) 10K-2 Thermistor 8 Inch Duct Probe
- (2) RHIB IDEC Relays
- (2) RIBU1C Relays
- (1) LMB24-SR Actuator (Proportional)
- (1) LMX24-3-T-F Actuator (Floating)
- Panel and Wire
- (1) 250FT 2 COND 18AWG STRD, UNSHLD PLENUM Wire
- (1) 22GA 3 COND SHLD PLNM
- (1) A3624AT1PP 36x24 NEMA 1 Panel
- (1) Din Rail Hardware Kit
These are the exact parts and pieces we use in our courses that have been used to train thousands of BAS Professionals.

